Adjusting your truck tightness and replacing wheels can be a pain if you don’t have a skateboard tool (T-tool). But if you have the right wrench size you can do it. Virtually any toolset will have the wrench sizes needed to adjust your skateboard.
So let’s dive into it.
What Size Wrench Do You Need for a Skateboard?
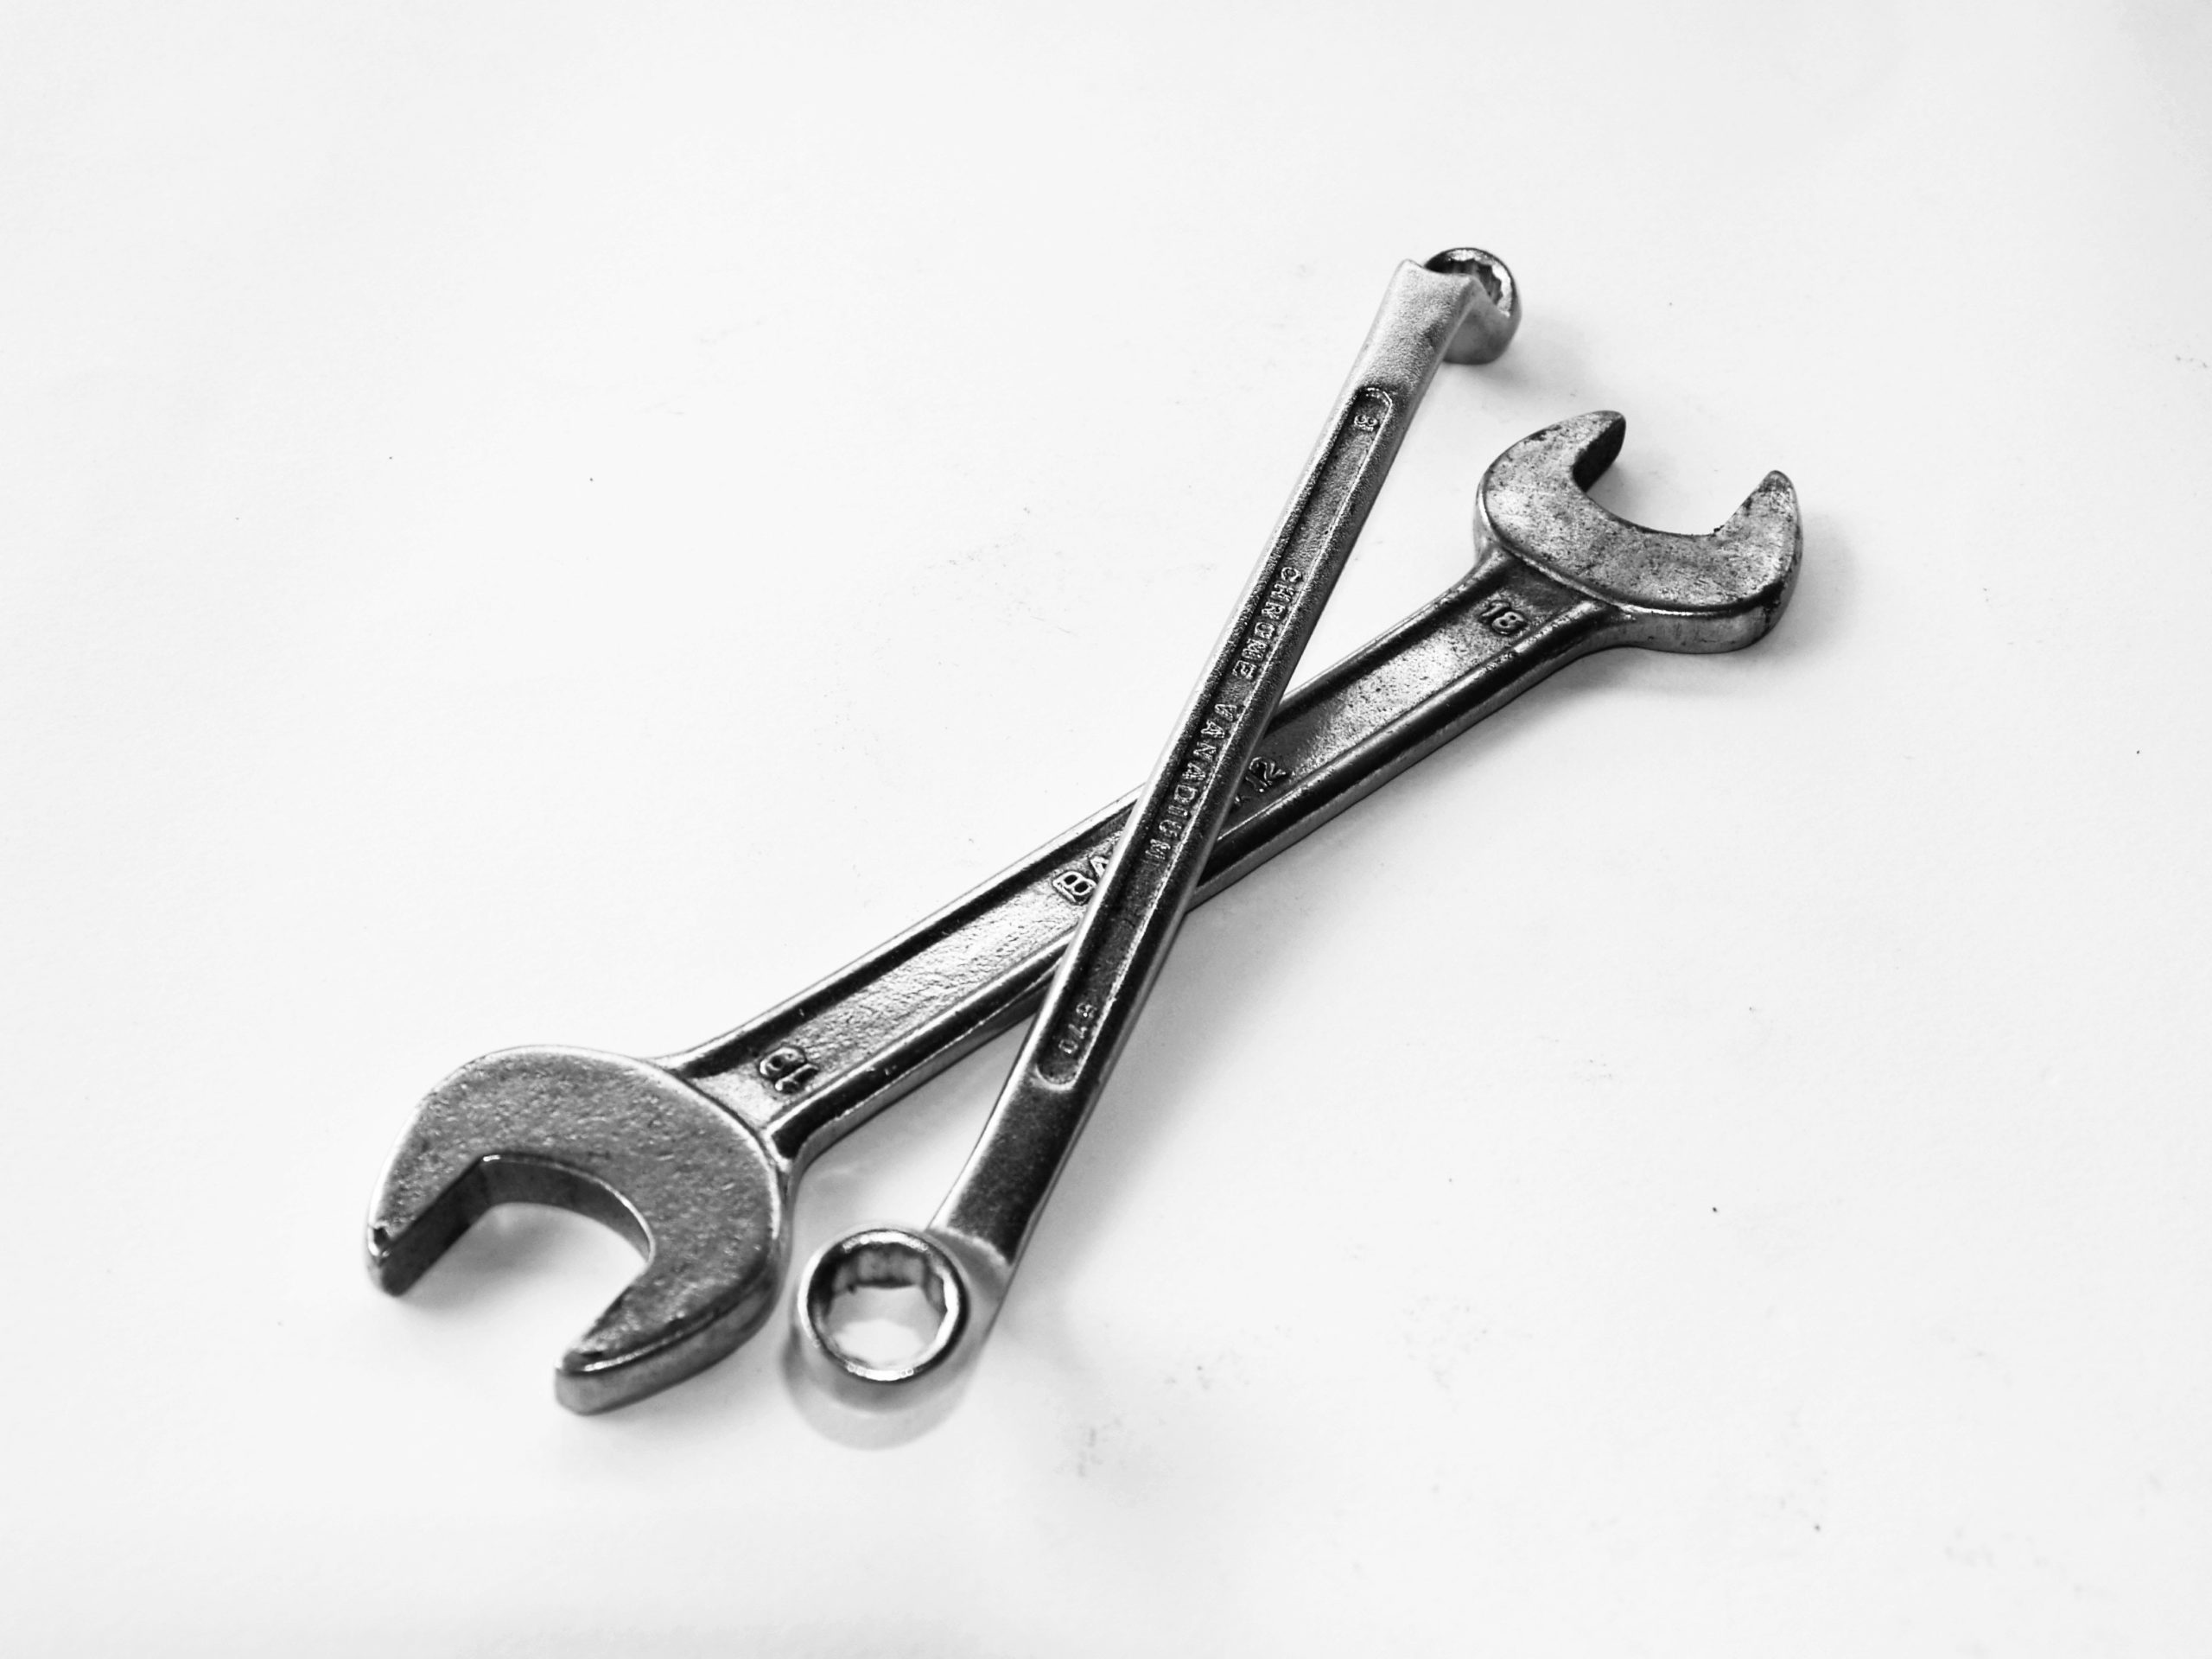
Depending on what you’re trying to adjust on your skateboard, there are three wrench sizes that you will need. Possible also a Philips head screwdriver.
A 9/16” wrench (or socket wrench) is used to adjust the kingpin bolt which holds the trucks of the skateboard together. This is tightened or loosened to adjust the tightness of the skateboard’s trucks. The wheel bolts use a 1/2” wrench and the board screw nuts use a 3/8” wrench. A Philips head screwdriver is also needed to disassemble a skateboard.
Luckily, virtually every toolset out there will have these wrench or socket wrench sizes. A Philips head screwdriver is also all but guaranteed in any decent toolset.
The only nuisance here is that a full toolset isn’t practical to carry around and you likely won’t have one with you while you are out skating.
What Tools Do You Need to Take Apart a Skateboard?
- A 9/16” Wrench (or Socket Wrench) (for the trucks)
- A 1/2” Wrench (or Socket Wrench) (for the wheels)
- A 3/8” Wrench (or Socket Wrench) (for the board screw nuts)
- A Phillips Head Screwdriver (for the board screw nuts)
The list above is everything you need to take apart a normal street skateboard. All of this is combined into an easily carried tool called a T-Tool (or skate tool). These are super cheap so maybe check that out.
There are some other things you could do like remove the griptape with a blowdryer which will melt the adhesive, but that is unnecessary for most people. Personally, I’ve never had the need to remove griptape from a skateboard.
Some rails also have deck rails that can be installed or removed with a power drill.
A T-tool will save you a ton of hassle and frustration when it comes to adjusting and setting up your skateboard. Check out my guide on how to use a T-tool and where to pick one up from here.
What is a Skateboard’s Kingpin Nut Size?
Need to order a new kingpin from Amazon? Did you strip your kingpin nut?
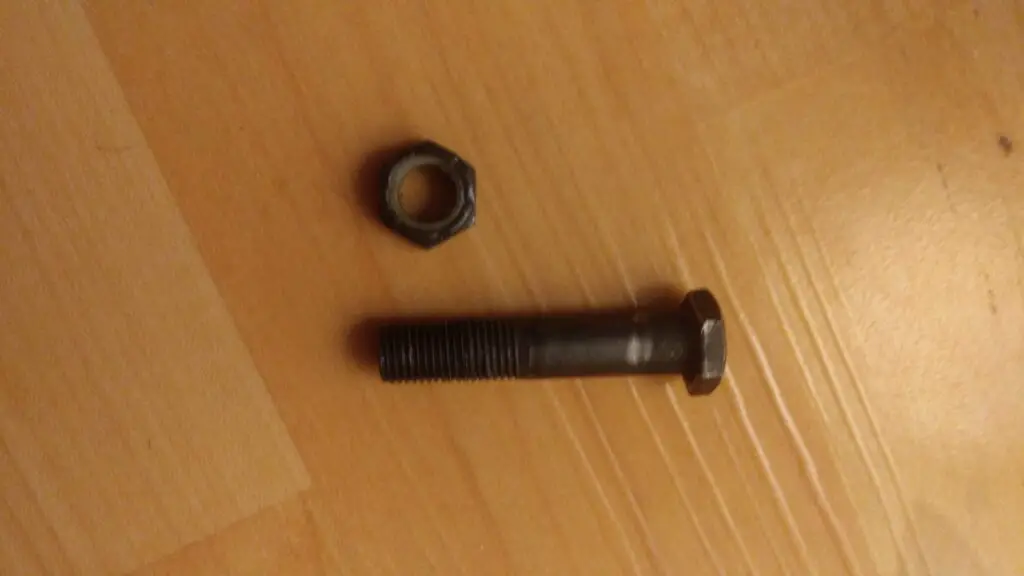
A standard skateboard kingpin nut is a 3/8″ hex nut or (24 UNF). This nut size will fit any skateboard in the standard range of deck widths from 7.25″ to 8.5″. Skateboard decks outside this range have the possibility of using unique hardware, but it is still unlikely. Kingpin size is pretty ubiquitous.
There are also great and useful hardware kits from companies such as Dimebag hardware that will have replacement parts for all of your hardware.
What is a Skateboard’s Kingpin Bolt Size?

Are you building a board from scratch and need to know the size of your kingpin bolt?
A standard skateboard kingpin bolt is about 2″ long. This bolt size will fit any skateboard with standard bushings. Kingpin size is pretty ubiquitous across skateboards and most hardware companies don’t even list the length of the kingpin bolt.
It is strange how little information on this is out there. I had to take apart my own board just to measure this.
How to Replace a Kingpin
Replacing a kingpin nut and bolt is simple to do. It basically involves screwing counter-clockwise on the kingpin nut. Boom. That’s all there is to it.
Loosen the Nut with a 9/16″ Wrench or T-tool
Turn the kingpin nut counterclockwise with your T-tool or 9/16″ wrench until you can remove the nut by hand.
Remove the Bushings, Trucks, and Washers
Slide off the components that are attached via your kingpin. This includes your trucks, washers, and bushings.
Unscrew and Remove Your Board Screws and Nuts with a T-tool
Fit your Phillips head screwdriver into the head of the board screw on the griptape side of the board. Use a 3/8″ wrench or your T-tool to turn each board screw nut counterclockwise until you can remove the nut by hand.
Remove Your Baseplate and Kingpin Bolt
At this point, everything should be loose and able to be removed by hand. Note that some baseplates actually have the kingpin fused into them and cannot be removed. I know that at least some Element baseplates are built like this.
Slide Your New Kingpin into the Pivot Cup and Reattach Your Baseplate
Slide your new kingpin into place. Fit your Phillips head screwdriver into the head of the board screw on the griptape side of the board. Use a 3/8″ wrench or your T-tool to turn each board screw nut clockwise until they are tight.
Tighten Your Kingpin Nut with a Inch Wrench or T-tool
Slide your trucks, washers, and bushings back onto your kingpin. Use your 9/16″ wrench or T-tool to turn the kingpin nut clockwise until it is at your desired tightness.
Test Ride Your Board
Don’t instantly go drive to the skatepark. Ride your board around for a minute to see if the trucks are too tight or too loose. Adjust as needed.
Do Different Skateboard Sizes Have Different Hardware Sizes?
You’re in luck here. Skateboard hardware has standardized better than our phone chargers have. One toolset can take apart or assemble virtually any skateboard.
Generally speaking, most street skateboard set-ups don’t have unique hardware when it comes to the nuts and bolts holding it all together. Most differences in set-up come from unique board shape, the board size, bushings, and maybe deck rails. A common skateboard tool (T-tool) will allow a user to adjust or assemble virtually all street skateboards.
Yay! This is good news.
Skateboards should be simple to maintain. It’s not like a skateboard set-up is like a car or a motorcycle. It is literally a board with wheels.
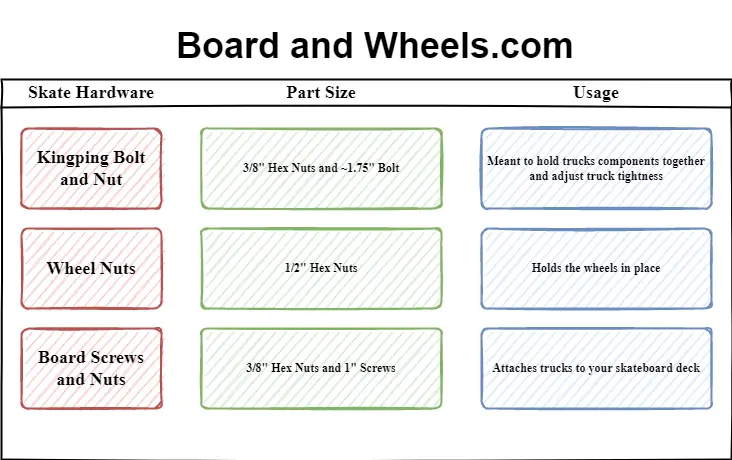
Skateboard Hardware Size Chart

Everything in this chart is something that we already discussed in the article. Feel free to use this chart as you please, but link to BoardandWheels.com if you post it online.
If you want to nerd out on some skateboard hardware. Check out my complete guide on bushings and why they’re the cheapest way to customize the way your board rides.
Complete Skateboarding Hardware Kits
Below is a list of hardware kits that you can purchase for rather cheap. They are easy to carry around in a backpack pocket or just keep stored away somewhere. You can’t really go wrong with any of these are they are such a small investment, but they may save your skate session and save you some time.
Check it out.
Independent Skateboard Trucks Spare Parts Kit
Cost: $24.79
This is an awesome little kit. It has basically everything you need so if you want to get some backup parts and then forget about ordering anything else go for this guy. This is really a steal for only $25 and it is from Independent which is one of the best skate companies out there.
The kit has the following parts:
- 1 Set of 7/8” Black Bolts / Nuts
- 2 GP-S bearings
- 1 Set Assorted 7/8” Silver, Gold, Red Bolts / Nuts
- 1 Set 88a Red Cushions
- 1 Set 90a Orange Cushions
- 2 Top Cup Washers
- 2 Bottom Cup Washers
- 4 Bearing Spacers
- 8 SpeedRings
- 4 Axle Nuts
- 2 Kingpin Nuts
That’s quite a little hardware kit.
Dimebag Lock Nuts 3/8″ for Kingpin Bolts
Cost: $4.75
This is as bare-bones as you’ll get with hardware kits. It is literally just two new kingpin nuts which is enough for one new skateboard, but there are no extra goodies here.
The benefit is that it is extremely cheap. So this option is best for skaters on a tight budget who need a specific part (ie a new kingpin nut or two).
Check out the answer to the eternal question of “How tight should my trucks be?” here. The answer depends on how you want to skate and your experience level.
Conclusion
So that’s it.
There really isn’t much hardware that goes into a skateboard and you don’t need a full toolset to take a skateboard apart. Invest in a T-tool if you can because they are extremely cheap and extremely useful to have.
Otherwise, just pull out a 5/8″ wrench from your toolset for the kingpin nut and a 3/8″ wrench for your wheels.
Anyway thanks for reading and look out for more content from Board and Wheels.


